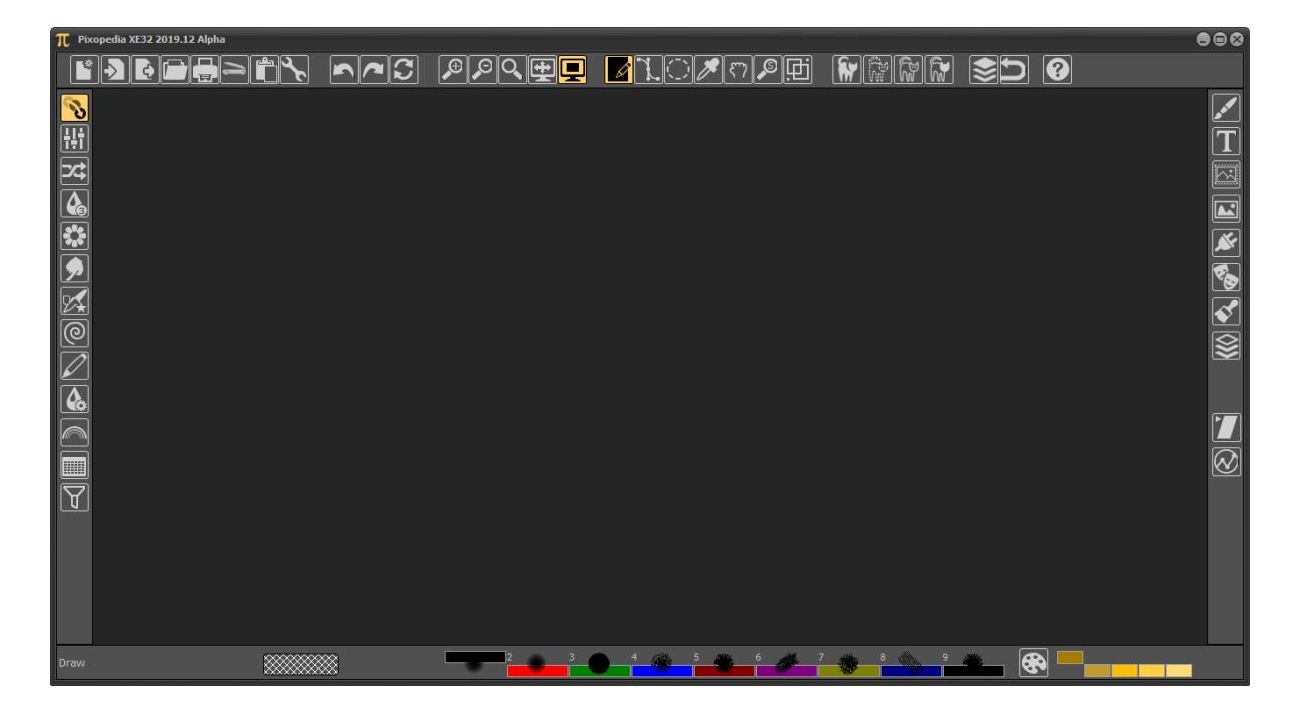
So you start Pixopedia and suddenly you get a screen with big dark area and a frame full of ugly icons:
Now what?
Sometimes I ask myself the same question. If you succeed to zoom parts of upper image, you’ll notice that frame around big dark area consist of four bars.
Before explaining meaning of icons on those bars, I must bring focus to that central dark area. That area is called IMA or Image Manipulation Area. This is a place where your image(s) will be shown (as tabbed pages). Now the bars!
Here is a short explanation of four bars that frames IMA:
- The top bar icons are divided in 7 groups. Each group has its’ own menu entry when Pixopedia is switched to menu mode.
- The left bar icons represent various actions you can select (Draw, colors, filters, etc…)
- The right bar icons are divided in 2 groups (tools and extras).
- The bottom bar contains info of selected action, color under the mouse, brush bucket and short palette.
Another important option, not related to those four bars is “IMA options” and is related to each tabbed image. “IMA options” will be covered in separate topic.
Quick start
To get an idea, start Pixopedia and then follow these steps:
- Click on the top-left icon (new image…). When pop-up window appears, click accept.
- Position you mouse over white area (empty image), hold left mouse button down and drag the stroke over image. Release mouse button.
- On your keyboard, press any number between 1 and 9 to change the brush (brushes are predefined, but of course you can change their parameters).
- Try again to draw with different brush.
- Now, click on revert button (undo all) to get back to white empty image. Try again to draw, but this time do not release mouse button, just hold it and press any number from 1 to 9 to see how the brush can be changed “on the fly”.
- To select another drawing shape (initially free hand is selected), use right mouse button to invoke pop-up menu and select desired shape.
Now, let’s change settings and get rid of ugly icons (well, I like them, but lot of people don’t):
- Click on the 7th icon on the top bar (settings…). The settings pop-up window will appear
- On “general” page, you’ll notice a radio button group named “workspace mode”. Click on menu mode and then click accept button.
- Pixopedia will switch to drop-down menu mode.
- You can switch back and fourth between those two modes.
- Selected mode (and other settings) will be written in Pixopedia.cfg file, so the next time you start Pixopedia, your settings will be used.